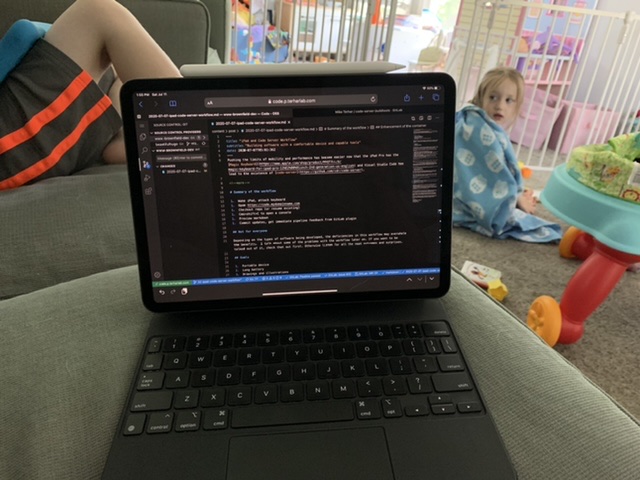
Pushing the limits of mobility and performance has become easier now that the iPad Pro has the Magic Keyboard and Visual Studio Code can be web-based as code-server.
TL;DR: It’s pretty nice but has some shortcomings. This article covers both the workflow and configuration.
Update article comparing to Coder Enterprise
Coder offers a license flr up to 10 users free so I felt compelled to compare it with what I made. The update article is here and talks about the differences in configuration and operation.
Updated to add Kubernetes namespace control
The update article is here and talks about the changes and enhancements made recently. The remainder of this article is still true.
Also updated to code-server 3.5.0
The update article is here and talks about the 2 files that were edited and the single command to perform the upgrade: kubectl apply -f code-server.yml.
Summary of the workflow
- Wake iPad, attach keyboard
- Open your code-server url
- Checkout repo (or resume existing)
- Preview markdown, code spell checker
Cmd+shift+Cto open a console and run build, test, etc- Commit updates, get immediate pipeline feedback from GitLab plugin
Not for everyone
Depending on the types of software being developed, the deficiencies in this workflow may overwhelm the benefits. I talk about some of the problems with the workflow later on. If you want to be talked out of it, check that out first. Otherwise, read on for all the neat outcomes and surprises.
Goals
- Portable device
- Long battery
- Drawings and illustrations
- Cloudy and containerized work
What it feels like
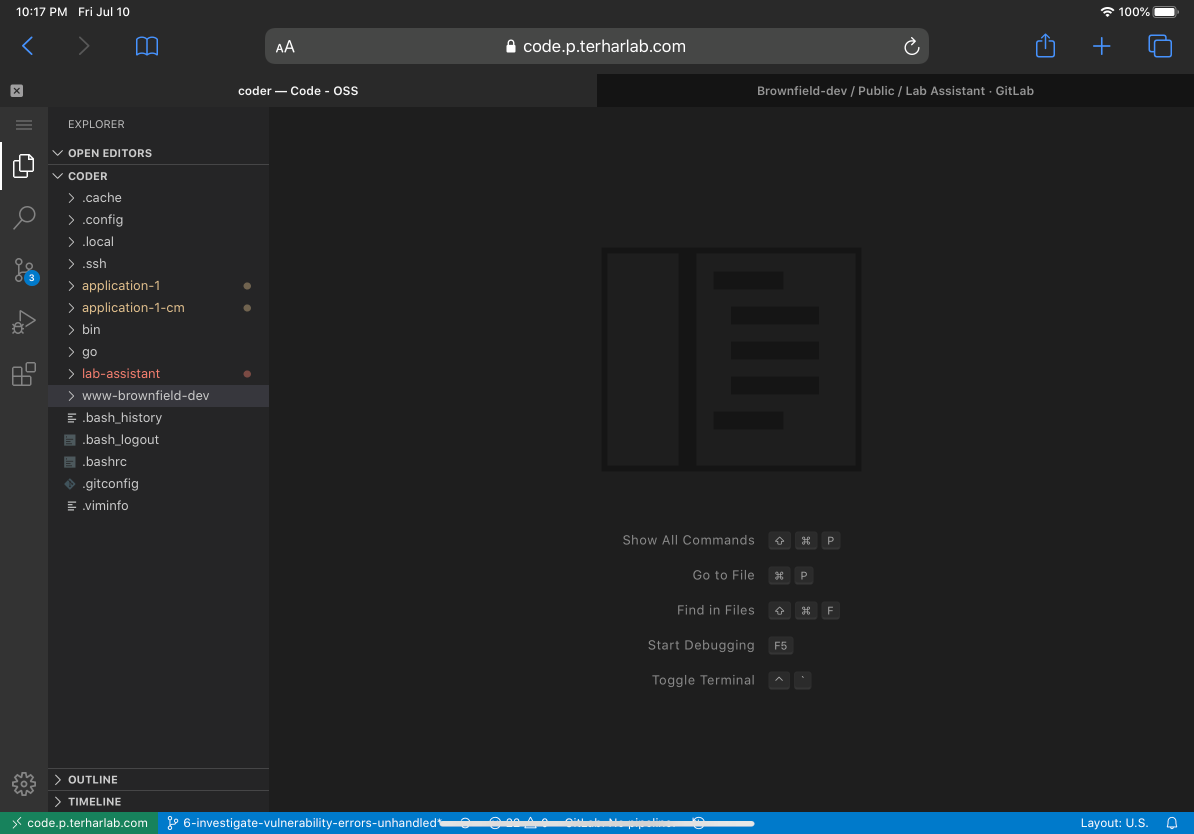
For the following barrage of screenshots, they are from when I was working on Lab Assistant from my iPad. It seemed like a good place to start recording some of the ease and struggles.
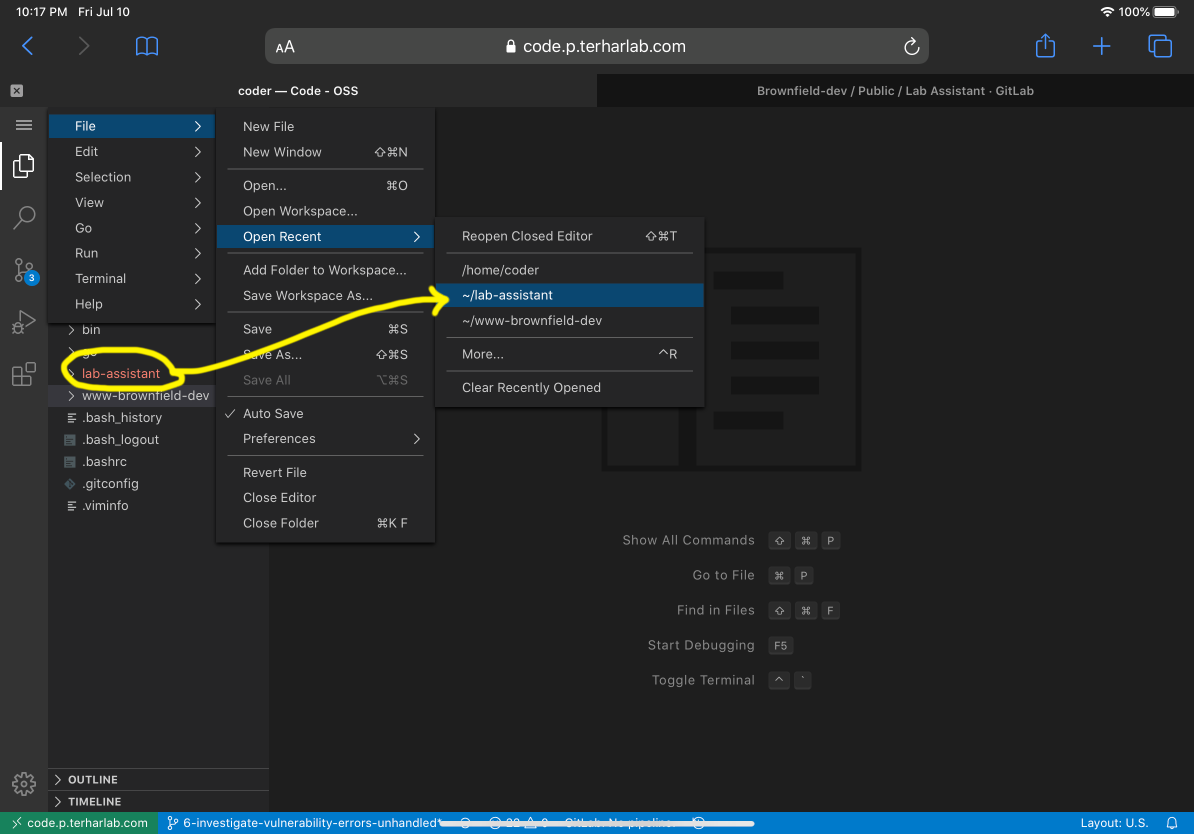
When starting on a new project or picking up work on this device for the first time, from that home location pull up a terminal (Cmd+Shift+C) and run git clone. This will create the new directory and fill it up with code. If it’s a microservice situation, create a directory and clone all the various repos into that.
Other Visual Studio Code plugins can be used to make the development experience more enjoyable. Since it’s a new IDE for me, I only have YAML, Golang, and GitLab so far.
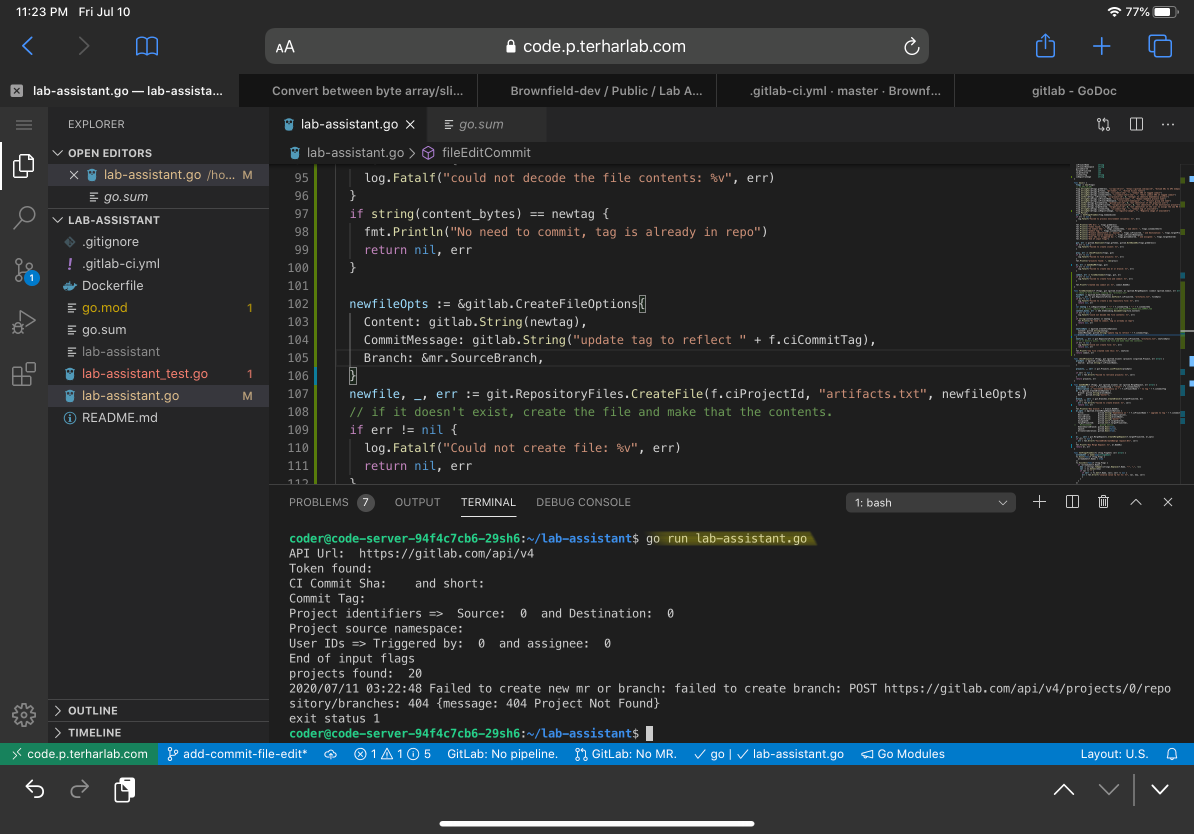
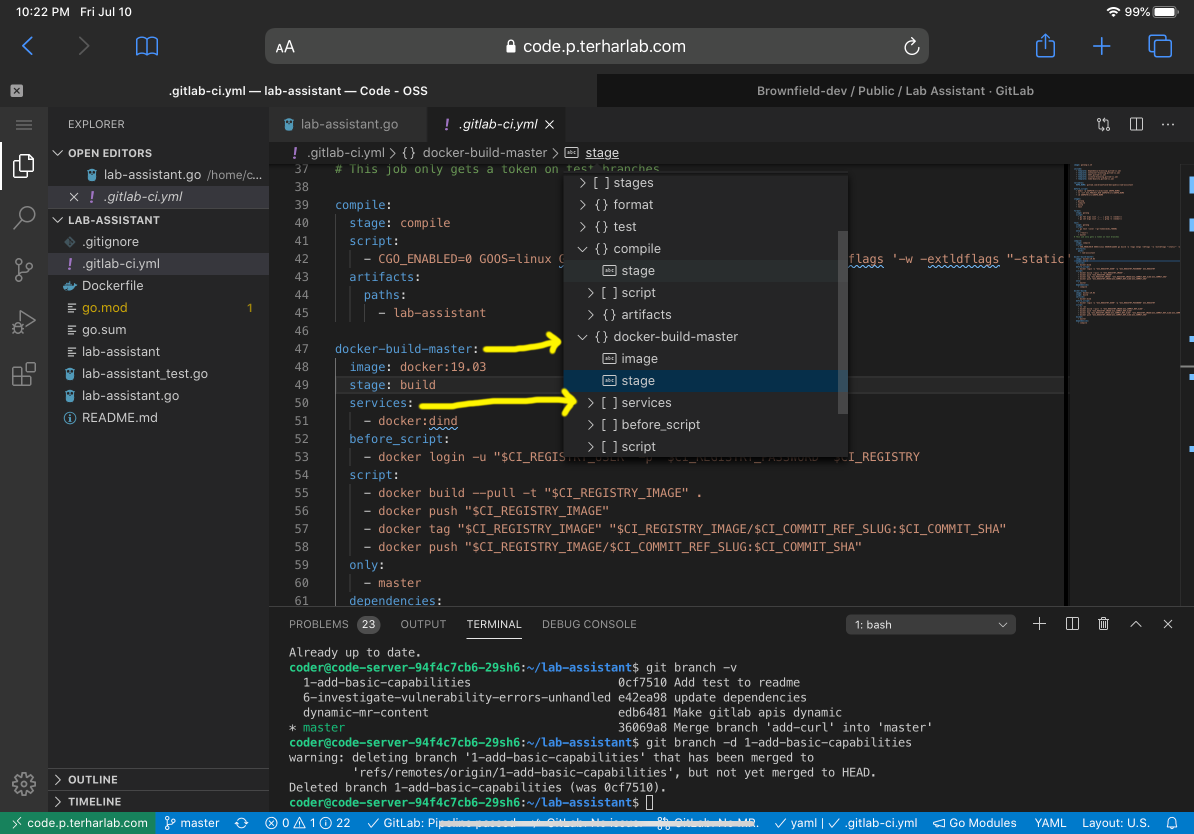
The best part of this setup is the terminal that allows compiling, linting, testing, and other CLI-driven workflow activities.
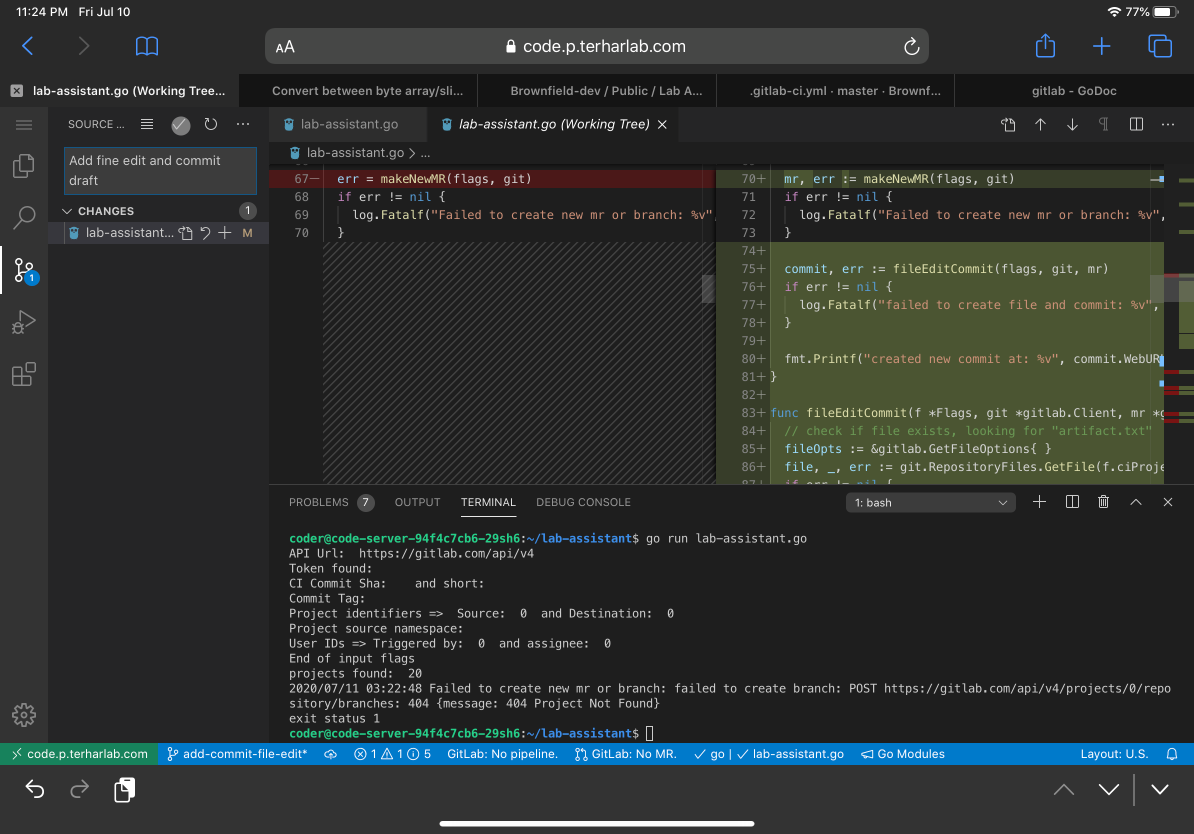
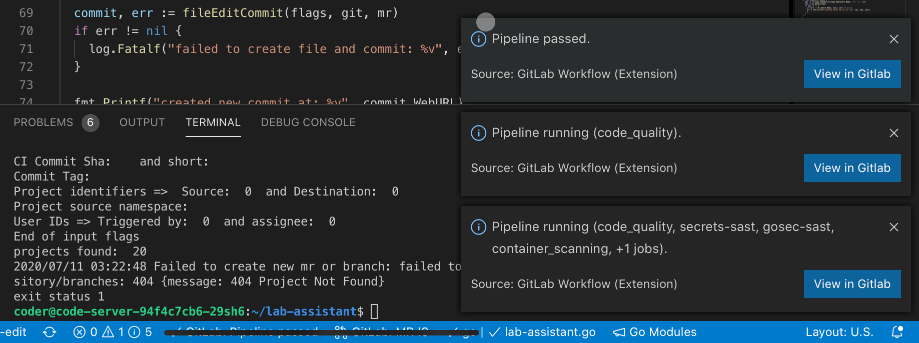
Code-server comes with some git integration, there's additional GitLab functionality from the GitLab plugin.
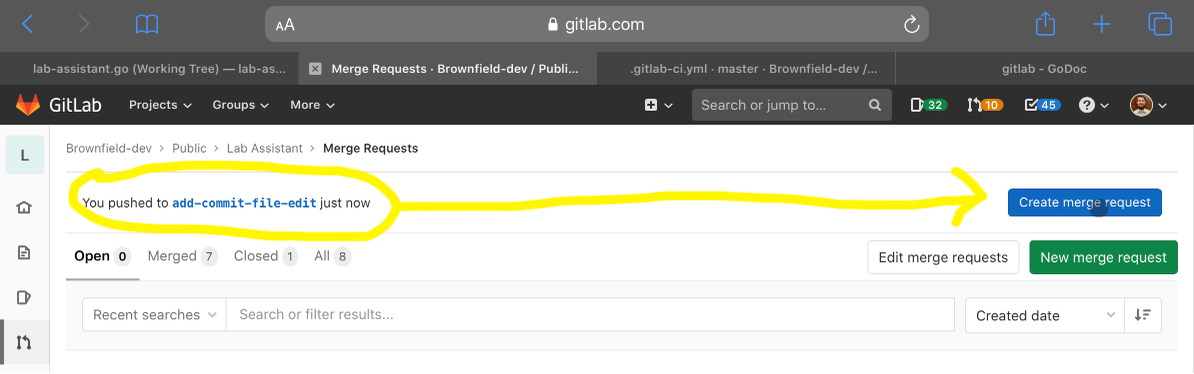
After pushing to GitLab, you can view the new branch and create a new merge request from the GitLab interface.

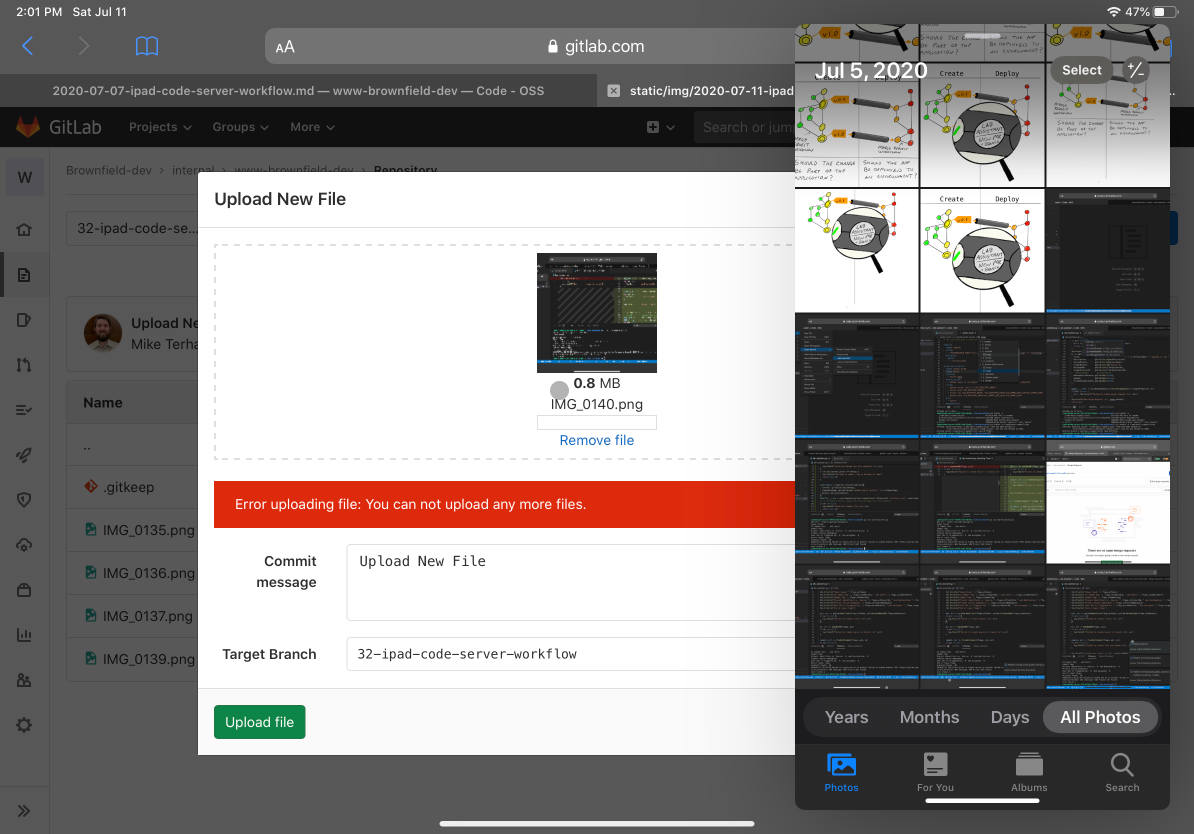
Sadly, uploading images directly to GitLab is one-at-a-time so squashing commits is much more important. It’s also hard to format images for the web.
Switching gears to blog post
The go workflow is pretty slick. Not a lot of stuff missing with the basics. I’m also trying to use this workflow for making the blog post you’re reading right now. Drafting the text is nice and easy. The spell checker plugin makes it better than my standard Sublime -> MS Word workflow.
The biggest deficiency is image formatting and organization. The iPad is great for making diagrams but once the images are saved, getting them into a web-optimized format and loaded into the repository is a hassle. Especially because you can only upload one file at a time to GitLab’s “upload file” interface. I did realize the WebIDE can do multiple uploads, but only too late.
Once the files are in the repo, they’re gigantic PNG files which should be shrunk, cropped, and optimized for web display. I need to find some tool to plug this gap in my creative work.
After uploading the images, renaming them and adding references, it’s time to take a look at what was built.
Every change to the code is detected and the site is rebuilt. Since code-server saves the files every time you stop typing, it leads to a lot of rebuilds. The good news is that they take a dozen milliseconds each.
Change detected, rebuilding site.
2020-07-11 19:51:23.996 +0000
Source changed "/home/coder/www-brownfield-dev/content/post/2020-07-11-ipad-code-server-workflow.md": WRITE
Total in 15 ms
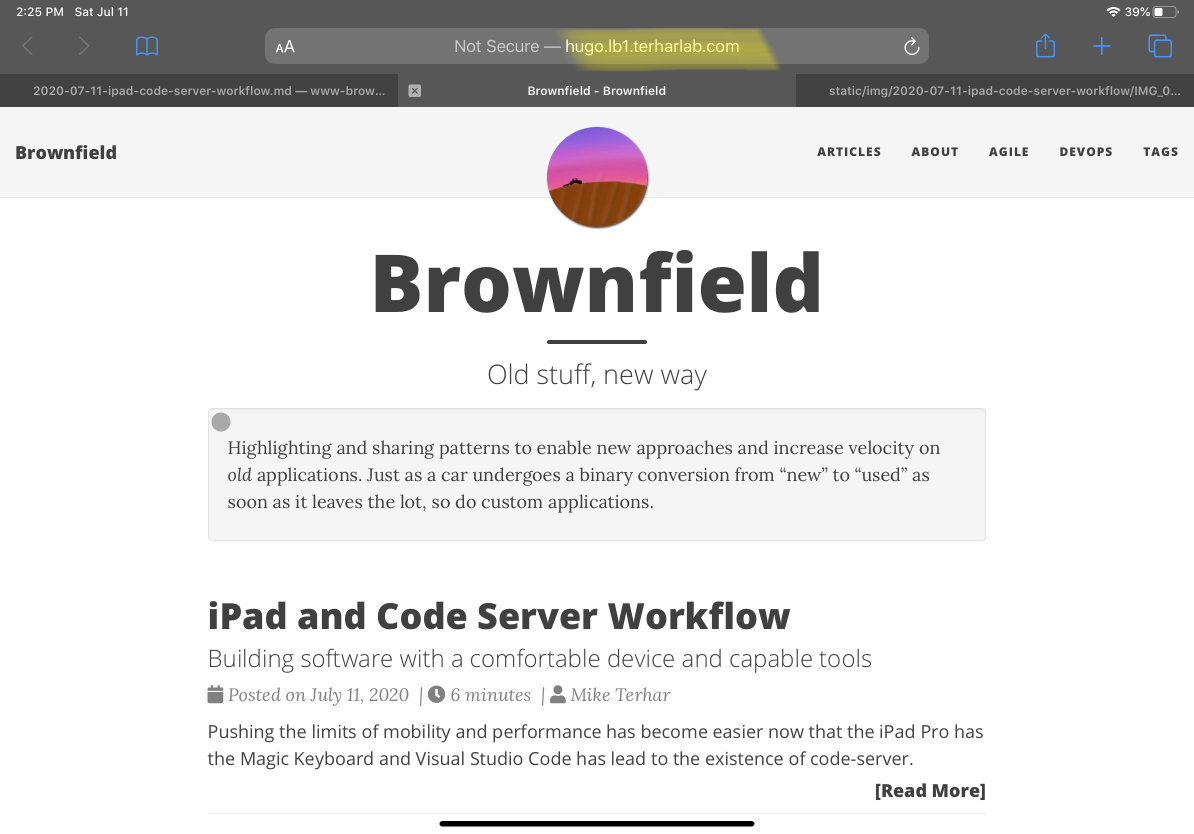
This review app URL in my configuration is tied to a DNS and internal IP address so it’s only accessible to me and others within my network or on a VPN. If you’re working on something public, exposing and sharing the review app may help with reviews and collaboration. It’s probably easier to just use GitLab’s review apps in that case though.
Workflow conclusions
The bottom line is that using an 11-inch iPad Pro with the magic keyboard is a nice way to work comfortably anywhere. Even if the work is relatively intensive coding or authoring.
I will continue to use this workflow for a month or two and update about what enhancements come up or if I abandon it eventually.
The rest of this article is about how I arrived at this setup, what it took to get it configured, and how I plan on managing it.
How things were
For the past few years, I’ve been trying to find a lightweight way to get all the benefits of cloud and remote computing while having a comfortable and minimal developer experience. Small devices that were attempted in the past had too many compromises related to performance and feedback.
The prior evaluations have been erratic because it’s tough to tell which combination of physical devices and services can yield a favorable result. Here are some of the things I’ve tried that didn’t pan out.
All of the below are working from an iPad using various Apps:
- MacBook 11 inch air: Screen was very low resolution, performance lacking
- MacBook 12 inch: At the time, I had a requirement for windows development and the devices (even i7) couldn’t seem to keep up with visual studio in debug mode plus a database
- iPad GitLab’s built-in WebIDE: lack of terminals and listing and compilers, feedback loop through pipelines is too slow
- iPad app Working Copy for git repos: great repo management and multi-file workflow, same lack of terminals and pipeline-based feedback
- iPad app Screens with full MacOS on the tiny screen: native workflow so pretty good but exceptionally expensive and clipboard troubles make it frustrating
- iPad app Prompt to use a Linux shell to do things: good for administrative but session time-outs and multi-file editing is poor experience
I was recently convinced to try Visual Studio Code and noticed that it has a code-server hosted web editor option. Evaluation time!
Setting up code-server
The Visual Studio Code installation is a regular software installer on MacOS. Just install it. Super easy.
The code-server installation has some options like a simple web server that runs on the same Mac system. I consider this to be a copy of the Screens workflow so I’m not going to try this.
There is a code-server installation option that is to run as a container. This piqued my interest since containers are neat and flexible. This can be combined with the GitLab CI pipeline to build replacement custom containers to increase the built-in capabilities. Linuxserver.io offers this with a templating/overlay mechanism to make some of the same enhancements I have done.
Why not Kubernetes?
In the interest of doing everything the hardest way imaginable, I took the code-server docker container and spun it up in my local Kubernetes cluster so I could benefit from the infrastructure.
- Ingress to a friendly domain name
- Certificates issued from Lets Encrypt
- Resilience and fail-over
- Ephemeral filesystem as a scratchpad
- Persistent storage for home directory
Ingress
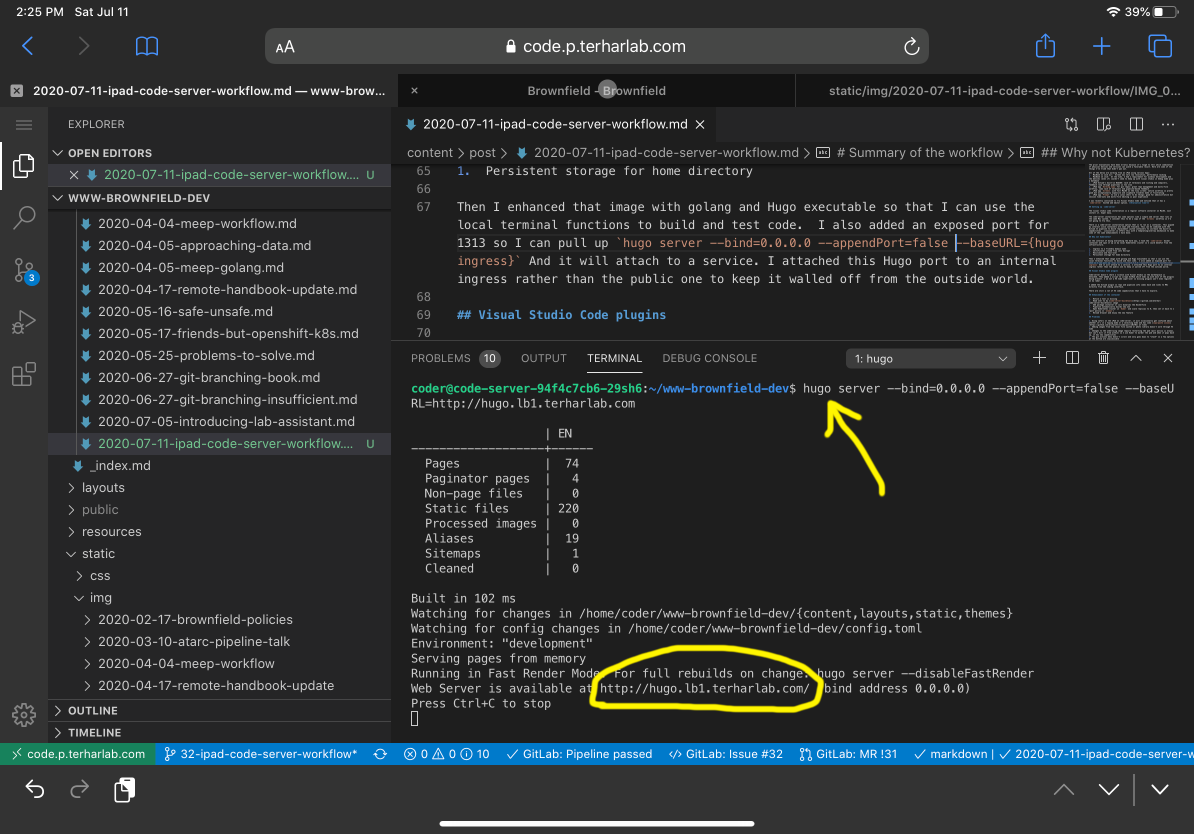
The main ingress configuration to access code.p.terharlab.com is set to connect to the code-server service.
I also added a Kubernetes service for 1313 and an Ingress mapping my internal load balancer to that service. Now I can pull up hugo server --bind=0.0.0.0 --appendPort=false --baseURL={hugo ingress} And it will attach to a service. I attached this Hugo port to an internal ingress rather than the public one to keep it walled off from the outside world.
Resilience and fail-over
Since the storage is external to the pod, if the pod moves around, the storage will be re-attached. The kubelet scheduler will make sure a code-server keeps running and if it moves from one node to another, the ingress and services will reconfigure to get traffic to the right place.
Ephemeral filesystem
When running the container, if you want to add something like golang or a different version of python, it’s easy enough. Just run apt-get or download binaries and put them in /usr/local/bin. If there is a problem with the tool, just restart the pod and it’ll go away since /usr and /etc are ephemeral.
I followed the enhancement process below to add go, hugo, kubectl, and helm to the image so I can build my lab-assistant application and post to my blog. This just requires updating the Dockerfile and restarting the pod to get the new container.
Persistent storage
To be sure that the day-to-day configuration updates don’t get lost in the ether when the container restarts, the entire /home/coder directory is in the persistent volume. In my environment, this creates an iscsi volume and attaches it to the container to preserve:
- dotfiles
- repositories
- go (packages)
/home/coder/.local/share/code-server- extensions
- logs
- config files
- spell checker library
Visual Studio Code plugins
The plugin ecosystem is an important part of this tool.
Code-server doesn’t share a license with Visual Studio so the marketplace is detached. They added a script to scrape GitHub which ends up with most of the plugins being present. I am not a VS Code super-user so missing plugins won’t even register on my radar.
I added the GitLab plugin so repo and pipeline info comes back and links to MRs directly from the coding interface.
There are still a lot of VS code capabilities that I have to explore.
Enhancement of the container workflow
- Notice a tool is missing
- Head over to my code-server-buildtools image
- Add package installer or curl binaries the Dockerfile
- Pipeline automatically builds new one
- Update the
code-server.ymlif needed, it includes all the Kubernetes objects. - If no spec changes, open in
Kuberand scale replicas to 0, then set it back to 1 (pull policy isalways) - If spec is updated, apply the new one
- Reload browser and enjoy the new feature
The comparison here would be with the local tooling enhancement workflow where one would download an executable and install it or run brew install or apt-get install. This process requires additional steps but keeps the system cleaner and allows easier roll-back if the tools conflict.
The biggest enhancement that enhances the enhancement workflow is to provide the code-server pod with the ability to manage its own namespace. This way it can add a python 2.7 or hugo 0.69 container or pod and then run specific builds in those images.
Problems
There are several problems that range from minor inconvenience to significant frustration. The
- Using safari on the iPad on code-server, it will occasionally get confused about whether it’s in a typing mode or a selecting mode and has some copy/paste issues at times
- The copy/paste issue above leads to
ctrl-cnot killing processes likehugo server - Adding picture files from the iPad doesn’t work through code-server, doesn’t seem to have a concept of uploads
- Changes to the underlying image require restarting the pod (pull policy is always, but can’t kill it from within)
- The git menu doesn’t scroll and only goes down to “stash” so a few options at the bottom are inaccessible
- Docker build steps are not allowed inside my Kubernetes cluster so I rely on GitLab.com’s runners and container registry (cluster nodes use my token to pull private project containers)
- I touch my MacBook screen to scroll and zoom occasionally and have to wipe off finger prints and smudges